
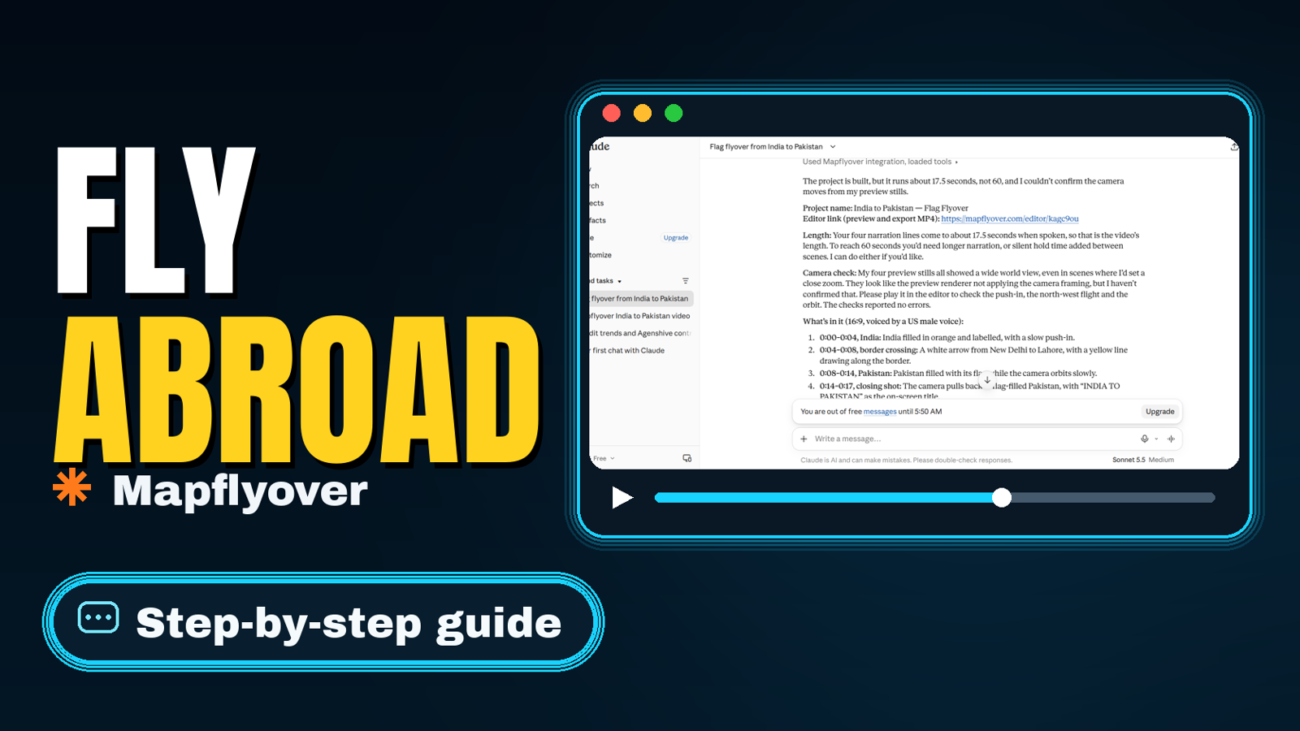
Quick answer: A video that flies from one country to another is just two scenes joined by one camera move. In Mapflyover, you make one scene for the country you start in and one for the country you land in, in that order, and the camera rises, travels and lands on its own. No keyframes, no desktop editor, and you can build and preview the whole thing free before you export.
The example below flies from India to Pakistan, but the steps are the same for any pair of countries: France to Spain, Australia to New Zealand, Egypt to Saudi Arabia. If you can name the two places, you can make the flight.
Step 1: Plan the flight before you open the editor
Decide three things first, because they shape everything else:
- Your start and end countries, in order. The camera follows your scene order, so the first scene is where the video opens and the last scene is where it lands.
- What the flight is about. A travel video, a geography fact, a news explainer? One sentence is enough, for example: “India and Pakistan share one of the world’s most talked-about borders.”
- How long the flight should last. A single country-to-country hop works best at roughly 10 to 20 seconds. Longer than that and the middle of the journey starts to drag; if you have more to say, add more scenes rather than stretching one flight.
Keep it to two countries for your first video. Each extra stop is another scene to time, and a clean two-country flight teaches you the whole workflow.
Step 2: Write a short script for the two scenes
Mapflyover builds videos from a script: you write the story, and the words carry through to the narration and the captions. Write one or two short sentences per country, in plain language, and keep the total short. A 30-second video needs roughly 70 to 80 words of narration.
For the India to Pakistan example, something like this works:
“We start over India, one of the largest countries on Earth. Now we cross the border into Pakistan, its neighbour to the west.”
Your script stays exactly as you wrote it, word for word, all the way to the captions, so write the words you actually want spoken rather than rough notes you plan to tidy up later.
Step 3: Make one scene per country, in order
This is the step that matters most. Mapflyover’s own travel-route guidance is simple: list your stops in the order you travel, make each stop a scene, and let the camera fly from one to the next. So create your first scene for the starting country, then a second scene for the destination.
When you type a place name, Mapflyover finds its real outline from OpenStreetMap and frames the camera on it. If a name has more than one match, check that the outline shown is the country you meant before moving on — a wrong match here means the camera flies to the wrong place, and it is much easier to fix now than after export.
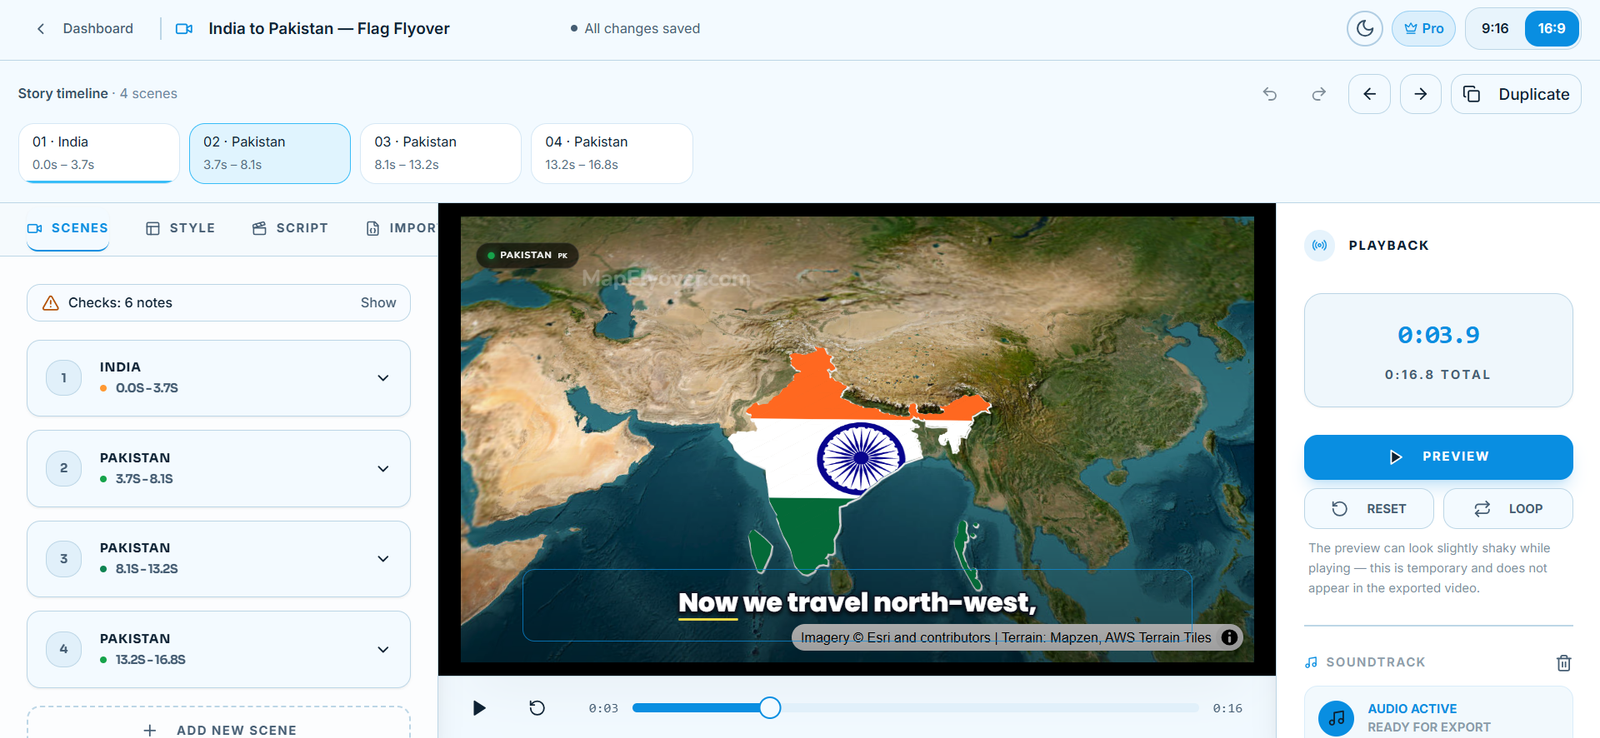
While you are here, you can also fill each country with its flag, which makes the start and landing of the flight read instantly on screen. That workflow is covered step by step in our guide to filling a country with its flag in a map video.
Step 4: Check the camera path, then preview it
You do not set keyframes for the flight. Mapflyover’s camera rises before it travels, so a flight is never a fast pan across the ground, then lands on the destination. While the camera holds on a place, you can add an orbit, a push-in, a drift or a sweep to keep the shot moving.
Preview the whole video before you export, and watch for these three things:
- Does the camera land on the country you meant? If it frames a neighbouring region or a distant island instead, switch to another outline match for that scene.
- Does each country get a beat to register? Add a short hold after the camera lands, so viewers can read the place before the next move starts.
- Is the order right? Scenes play in order, so a swapped pair of scenes sends the camera backwards.
Previewing is free and unlimited, so replay the flight and adjust the scenes until it reads cleanly. If you are new to the editor itself, our step-by-step guide to making a map animation video walks through the same screens in more detail.
Step 5: Add narration and captions (optional, but worth it)
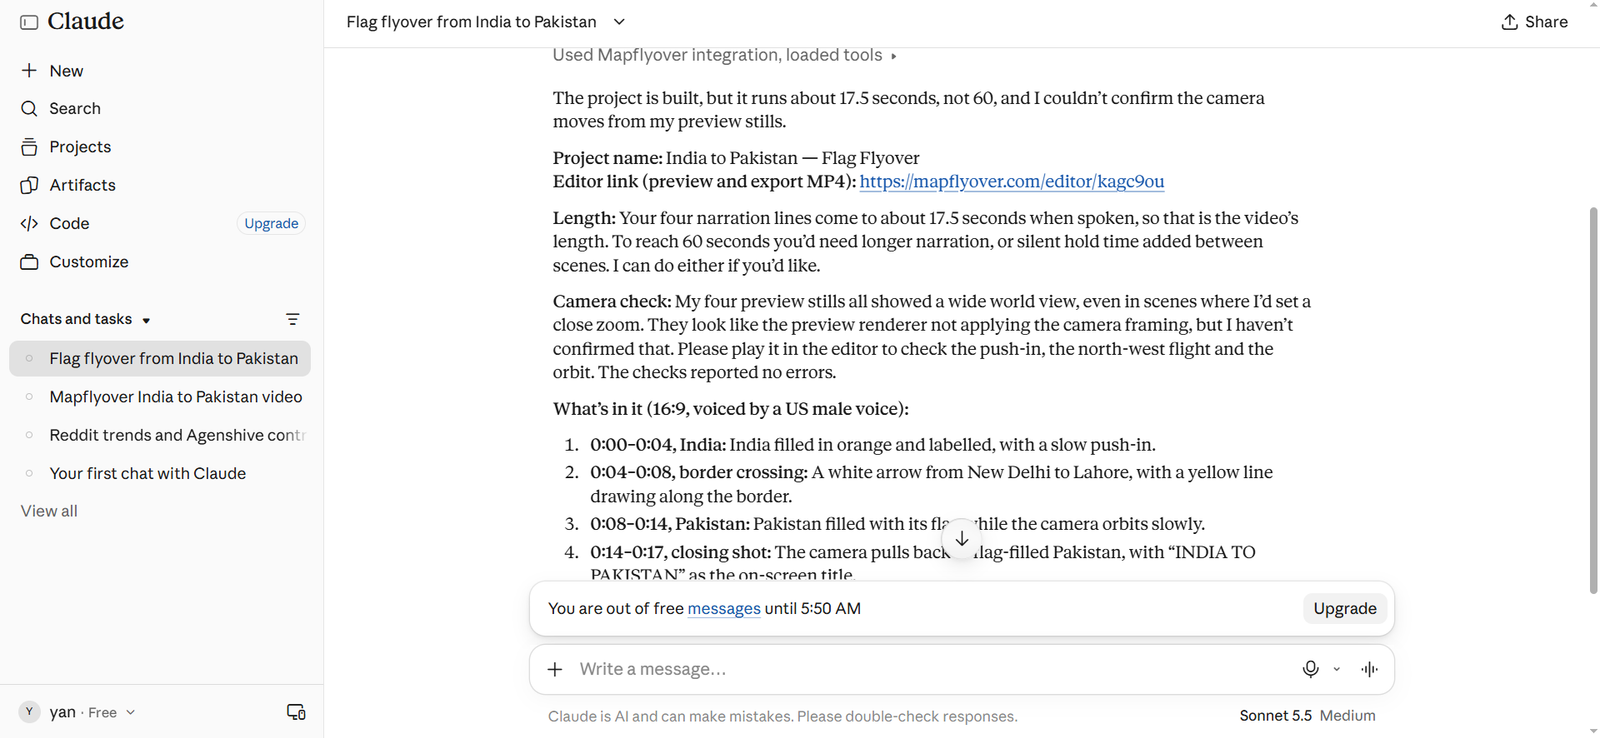
A silent flyover works, but a voice telling viewers where they are going makes the flight much easier to follow. Mapflyover generates narration in English, Hindi, Urdu, Spanish and more, with no key needed, and times word-by-word captions to that narration automatically.
If you add narration, keep it matched to the flight: the sentence about the starting country should play while the camera is over that country, and the sentence about the destination as it lands. If the voice finishes before the camera does, either shorten the script or slow the move, rather than leaving a silent stretch of map.
Step 6: Pick the shape: landscape or vertical
Choose 16:9 for a YouTube video or 9:16 for Shorts, Reels and TikTok. One project can be exported in either shape, so you do not have to rebuild the flight for a second format — but do preview the vertical version separately, because a wide two-country framing can crop awkwardly in a tall frame. If a country gets cut off at the edges, reframe that scene for the vertical shape.
Step 7: Export the MP4
When the preview looks right, export an MP4. Rendering happens in your browser, frame by frame, so the time it takes depends on the length of the video, the resolution and your device — a short 720p flight exports far faster than a long 4K one, and keeping the tab open while it renders avoids interruptions.
What you can export depends on your plan, as listed on Mapflyover’s pricing page: the Free plan exports 2 videos a month at 720p, up to 90 seconds each, with a small Mapflyover mark; Pro costs USD 20 a month for 30 exports up to 1080p and 5 minutes each with no mark; Studio costs USD 70 a month for 300 exports up to 4K. Building, previewing, narration and captions are free on every plan, so a failed or unsatisfying preview costs you nothing — only the export counts.
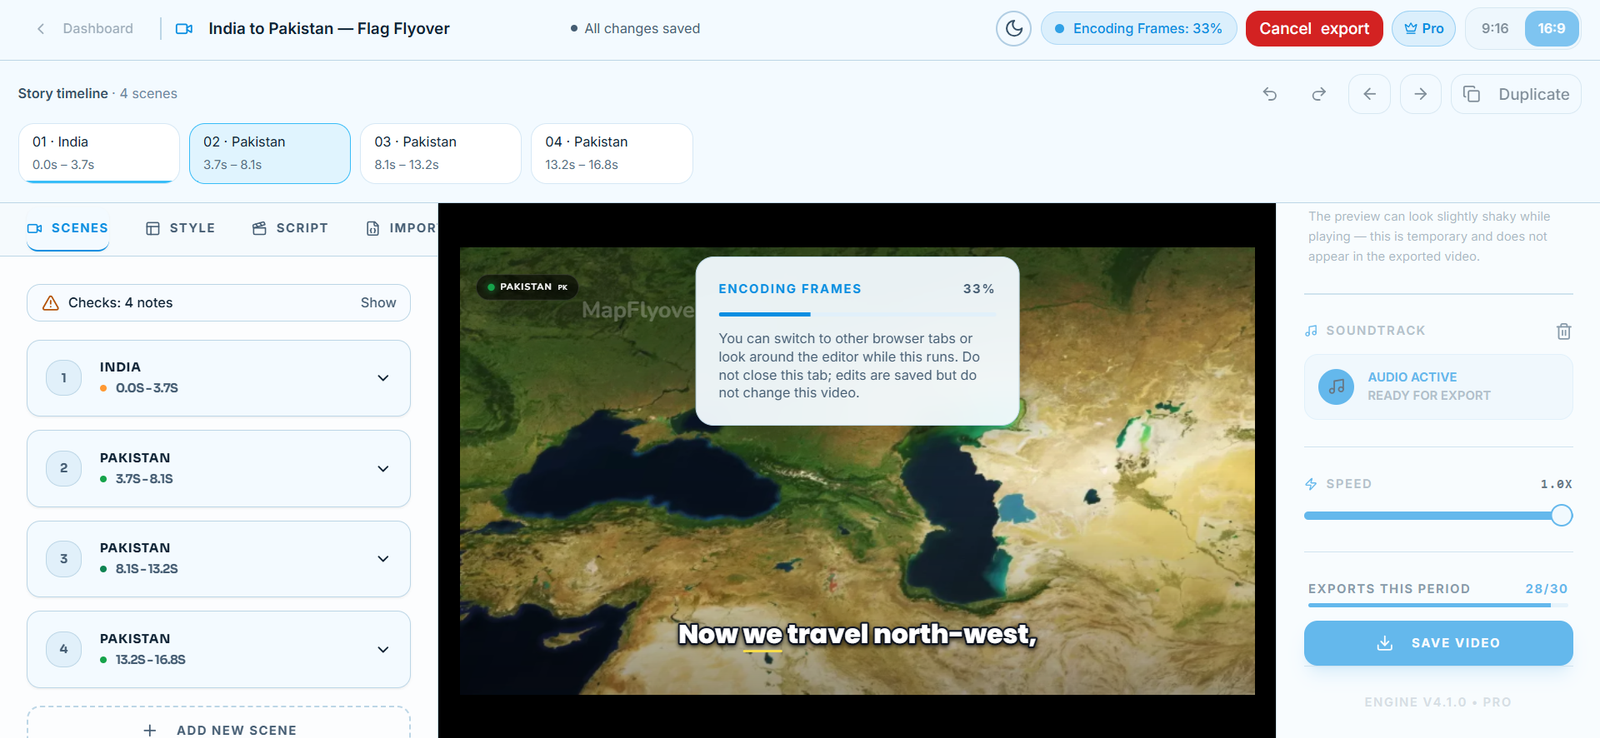
If an export stalls instead of finishing, do not assume the project is lost. Our guide to fixing a stuck Mapflyover export covers the workarounds that help, including keeping the tab open, lowering the quality and duplicating the project.
Tips for a flight that looks professional
- One idea per scene. Fly, then highlight, then label — not all three at once. Viewers need a beat to read each change.
- Start wide, land close. Open on enough of the map for viewers to place the starting country, then let the camera settle closer on the destination.
- Use the same map style throughout. Switching styles mid-flight breaks the illusion that this is one continuous journey.
- Keep labels to a minimum. One or two place names on the map is plenty; put longer titles in your video editor, where you control the font.
- Cut the clip into your edit on the move. Start the map clip just as the camera begins to fly, so the motion carries viewers from your last shot into the map.
Frequently Asked Questions
Do I need Google Earth or After Effects to make a country-to-country flight?
No. Mapflyover runs in your browser and finds the real outlines and flies the camera for you, so you do not need a desktop editor or a hand-built Earth zoom effect.
Can I fly between cities instead of countries?
Yes. The workflow is identical: one scene per stop, in travel order. The same steps work for cities, landmarks and regions, not just countries.
Can I add more than two countries?
Yes. Add one scene per extra country, in the order you want to visit them, and the camera will fly the whole route. Keep each leg short, or the video starts to feel like a slideshow of maps rather than a journey.
Can I make a country-to-country flight for free?
Yes. Building and previewing are free, and the Free plan includes 2 exports a month at 720p, up to 90 seconds each, with a small Mapflyover mark. That is enough for a short two-country flight.
What if the camera flies to the wrong place?
Check the outline match for that scene first. Place names can be ambiguous, and Mapflyover lets you switch to another match, draw a circle or paste your own shape. Fix it in the editor and preview again before exporting.
