
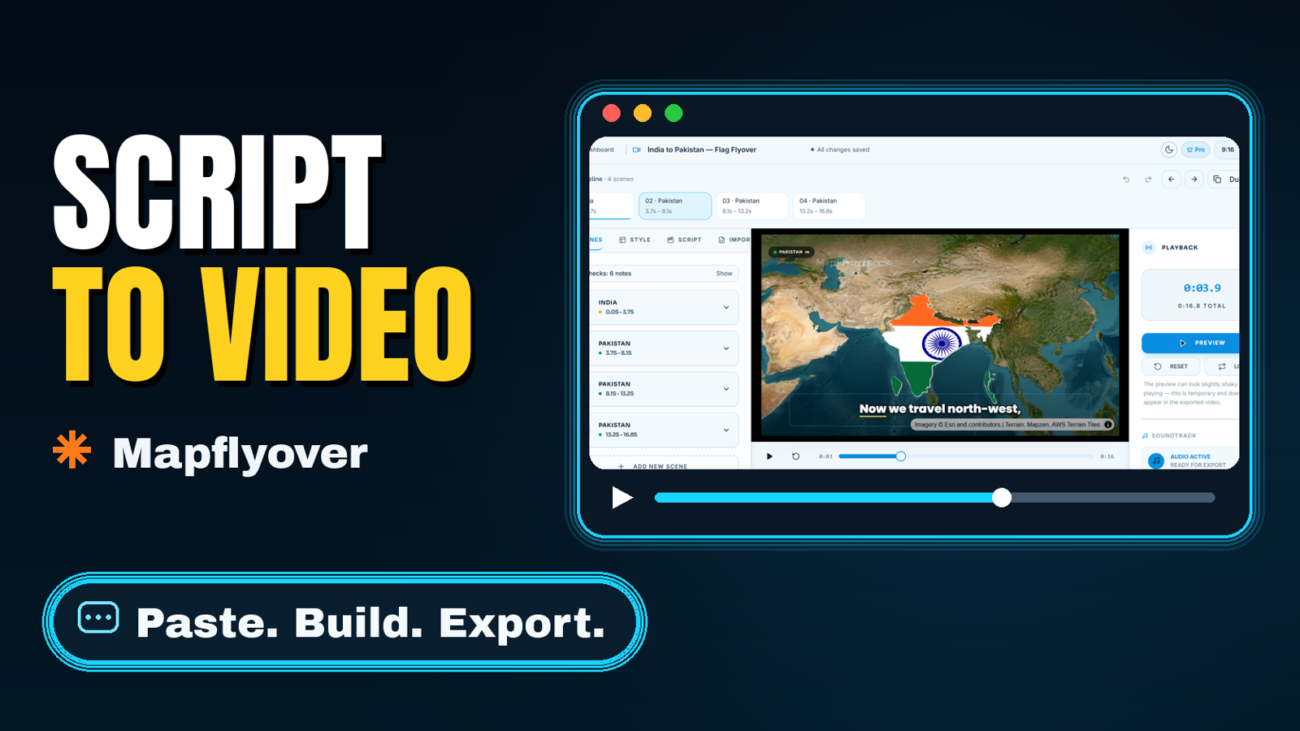
Quick answer
Paste your script into Mapflyover, split it into one scene per place, add narration, and let the captions time themselves to the voice. Your script stays exactly as you wrote it, word for word, all the way to the captions — Mapflyover builds the journey around it, finding each place’s real outline and flying the camera between them. A short video can go from script to export in minutes.
This guide walks through the script-first workflow: writing a script that splits cleanly into scenes, pasting it in, checking every place, adding a voice, timing the captions, and exporting. It is different from starting with a one-line prompt, which our step-by-step Mapflyover guide covers — here the script comes first and drives everything else.
Before you start: what a good script looks like
A map video script is not an essay. It is a list of things to show, in the order you want to show them. Before you paste anything in, check your script against three rules:
- One idea per line. Each line should name one place, one fact, or one move. If a sentence does two jobs — introduces a country and gives a statistic about it — split it. One idea, one scene is the rule video editors use when they break a script into shots, and it works here too: a new scene starts when the idea changes or the speaker would naturally take a breath.
- Name places plainly. Write “Delhi” and “the Ganges”, not “the capital” and “the river”. Mapflyover finds each place from its name, and a vague reference is the fastest way to get the wrong outline or no outline at all. When two places share a name, add the context: “Paris, Texas” or “Georgia, the country”.
- Keep it short enough to export. Narration runs at roughly 150 words a minute — Mapflyover’s own example turns a 140-word script into 58 seconds of audio. On the Free plan you can export up to 90 seconds, so a script of around 220 words is the practical ceiling for a free export. Longer than that and you will need a paid plan; Mapflyover’s pricing page sets out the limits.
Aim for roughly 12 to 22 words of narration per scene. Shorter than that and the camera barely arrives before the scene is over; longer and one shot has to carry two ideas.
Step 1: Paste your script into Mapflyover
Open Mapflyover and start a new project. The first step in the editor is to write the story: paste your script in. It stays exactly as you wrote it, word for word, all the way to the captions — Mapflyover does not rewrite it, shorten it, or paraphrase it.
That matters because the script does double duty. It is the narration text and it is also the timing source: the captions are generated from the audio of your script being read, so what you paste is what viewers will hear and read. If there is a typo in the script, it will be spoken and captioned, so proofread before you paste rather than after.
Here is a short example script, the kind that works well — five lines, five places, one idea each:
India is home to more than 1.4 billion people. Most of them live in the north, along the Ganges. Delhi sits on the river’s plain. Mumbai faces the Arabian Sea. And in the south, Chennai looks out over the Bay of Bengal.
We will use this script through the rest of the guide.
Step 2: Split the script into scenes, one per place
A scene in Mapflyover is one place, one camera position, one moment. So split your script at every place change: each line that names a new place becomes its own scene. Our example script splits into five scenes:
- Scene 1 — India: “India is home to more than 1.4 billion people.” Wide view of the whole country.
- Scene 2 — The Ganges and the north: “Most of them live in the north, along the Ganges.” Camera moves north and follows the river.
- Scene 3 — Delhi: “Delhi sits on the river’s plain.” Close in on the city.
- Scene 4 — Mumbai: “Mumbai faces the Arabian Sea.” Fly south-west to the coast.
- Scene 5 — Chennai: “And in the south, Chennai looks out over the Bay of Bengal.” End on the south-east coast.
Build the journey one scene at a time: pick the place for the scene, and Mapflyover finds its real outline and frames the camera on it. The camera rises before it travels, so a flight is never a fast pan across the ground, then lands — and while it holds you can add an orbit, a push-in, a drift or a sweep.
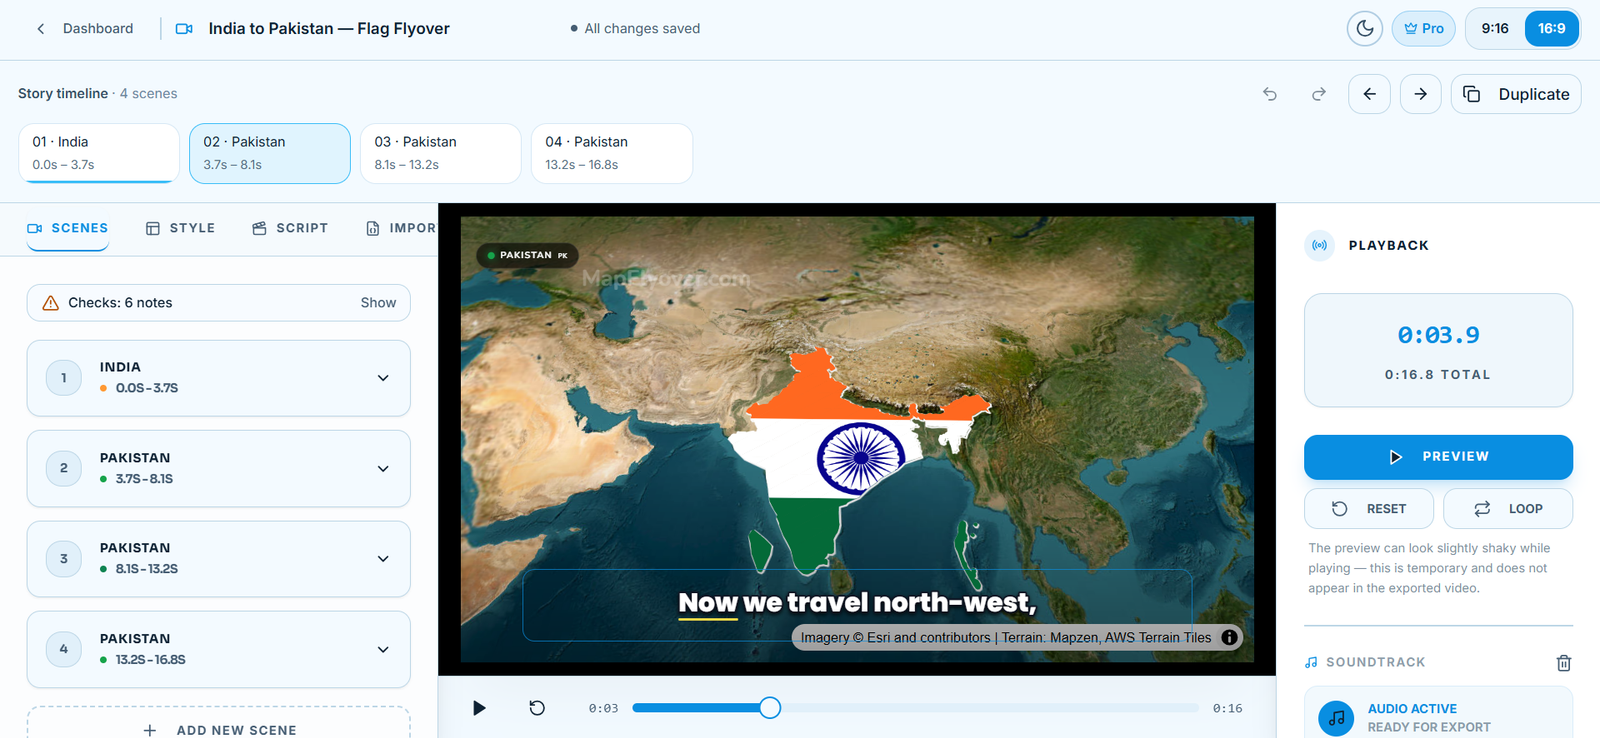
Two things to watch while you split. First, keep places in travel order: the camera flies from scene to scene in the order you list them, so a script that jumps from Chennai back to Delhi and then to Mumbai will make the camera zig-zag across the map. Second, do not make one scene do two jobs. If a line introduces a country and then gives a statistic, give the statistic its own moment — a stat card that appears on cue — rather than cramming both into one shot.
Step 3: Check every place the script names
For each scene, check that Mapflyover found the place you meant. It ranks matches against alternatives and frames the main landmass, so a country with distant islands is framed as the country people picture — but it can still pick the wrong match when names repeat, and small places are the ones most likely to be missed or framed too wide.
If the outline is wrong, switch to another match, draw a circle, or paste your own shape. Do this now, scene by scene, before you add narration: it is much faster to fix an outline while the project is still just scenes than after the voice and captions are timed to it.
Pay particular attention to three cases:
- Small places. A city or island can be framed so wide that it is a dot. Zoom in until the place and its label are readable at video size.
- Rivers, seas and regions. These are not countries, so their outlines come from the map data rather than a border. Check the camera is actually showing the feature your line is about.
- Places with the same name. If the map jumps somewhere unexpected, the wrong match was picked. Switch it and re-check.
Step 4: Add narration to the script
With the scenes in place, add the voice. Mapflyover generates natural narration in English, Hindi, Urdu, Spanish and more, with 48 voices to choose from and no key needed. Pick a voice, generate the narration from your script, and check that the words land where you expect them: the voice reads your script as written, so a line you split across two scenes will be read as two separate moments.
You can also upload a recording or soundtrack you already have instead of generating a voice. One honest caveat: if you record the voice yourself, captions for your own recording need a Groq key of your own, added in Settings — the built-in caption timing is tied to the generated narration. Our guide to adding narration and captions in Mapflyover covers the voice picker and the recording route in detail.
Narration is free on every plan, but it is counted in minutes of audio generated per month: 20 minutes on Free, 200 on Pro and 1,200 on Studio. A 60-second video uses about a minute of that allowance, so a Free account can narrate roughly twenty one-minute videos a month — the binding limit for most people is the two exports a month, not the narration.
Step 5: Let the captions time themselves to the voice
Once the narration is in, Mapflyover listens to the audio and gives every word its own time, so each word lights up as it is spoken. You do not type captions or set timings by hand. Pick one of the seven caption looks — Karaoke, Pop box, Karaoke fill, One word, Minimal, Cinema or Neon — then adjust the font, size, colours, outline, background plate and position.
Two timing checks are worth doing before you export. First, watch the preview right through and listen for any line where the camera arrives after the voice has already moved on — that means the scene is too short for its words, so lengthen it or trim the line. Second, check the captions on a phone-sized view: a caption style that looks fine on a laptop can be too small or too wide in vertical 9:16, and Mapflyover lets one project export in either shape, so check the shape you actually plan to post.
One thing to know: the preview is a fast renderer and can frame wider than the final render. Judge the framing by a short test export, not by the preview alone — our guide to why Mapflyover previews look different from exports explains what to check.
Step 6: Preview, fix the framing, then export
Watch the whole video in the preview before you export. Check each scene in turn: the right place, the right outline, the label readable, the camera move finishing before the next line starts. Fix anything that is off now — a wrong match, a scene that is too short, a caption that overlaps a label — because once you export, fixing it means exporting again, and exports are the thing the Free plan limits.
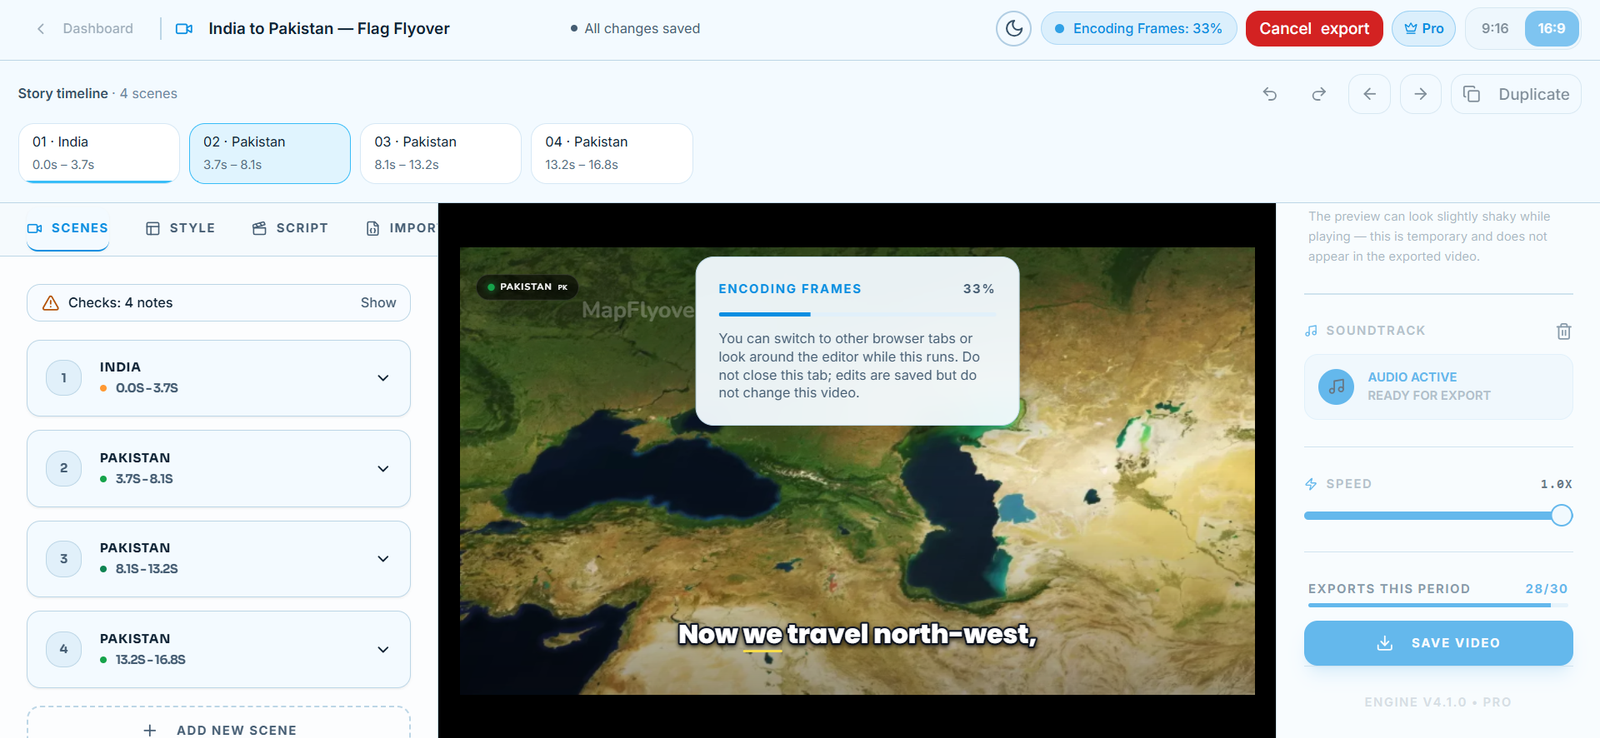
When you are happy, export. Pick vertical 9:16 for Shorts, Reels and TikTok, or landscape 16:9 for YouTube — one project can export in either shape. Rendering happens in your browser, frame by frame, so the time depends on the length, the resolution and your device; keep the tab open while it renders.
The Free plan exports two MP4 videos a month at 720p, up to 90 seconds each, with a small Mapflyover mark. Pro is USD 20 a month for 30 exports up to 5 minutes each at 1080p with no mark, and Studio is USD 70 a month for 300 exports up to 15 minutes at 4K. There is also a 7-day Pro trial for USD 3. All of those limits are on Mapflyover’s pricing page, and they are the reason to keep scripts short and to fix framing before you export rather than after.
If an export stalls near the end, do not close the tab: our export-stuck fixes guide covers the resume behaviour and the workarounds that actually help, including lowering the quality and duplicating the project.
Let an AI agent do the splitting for you
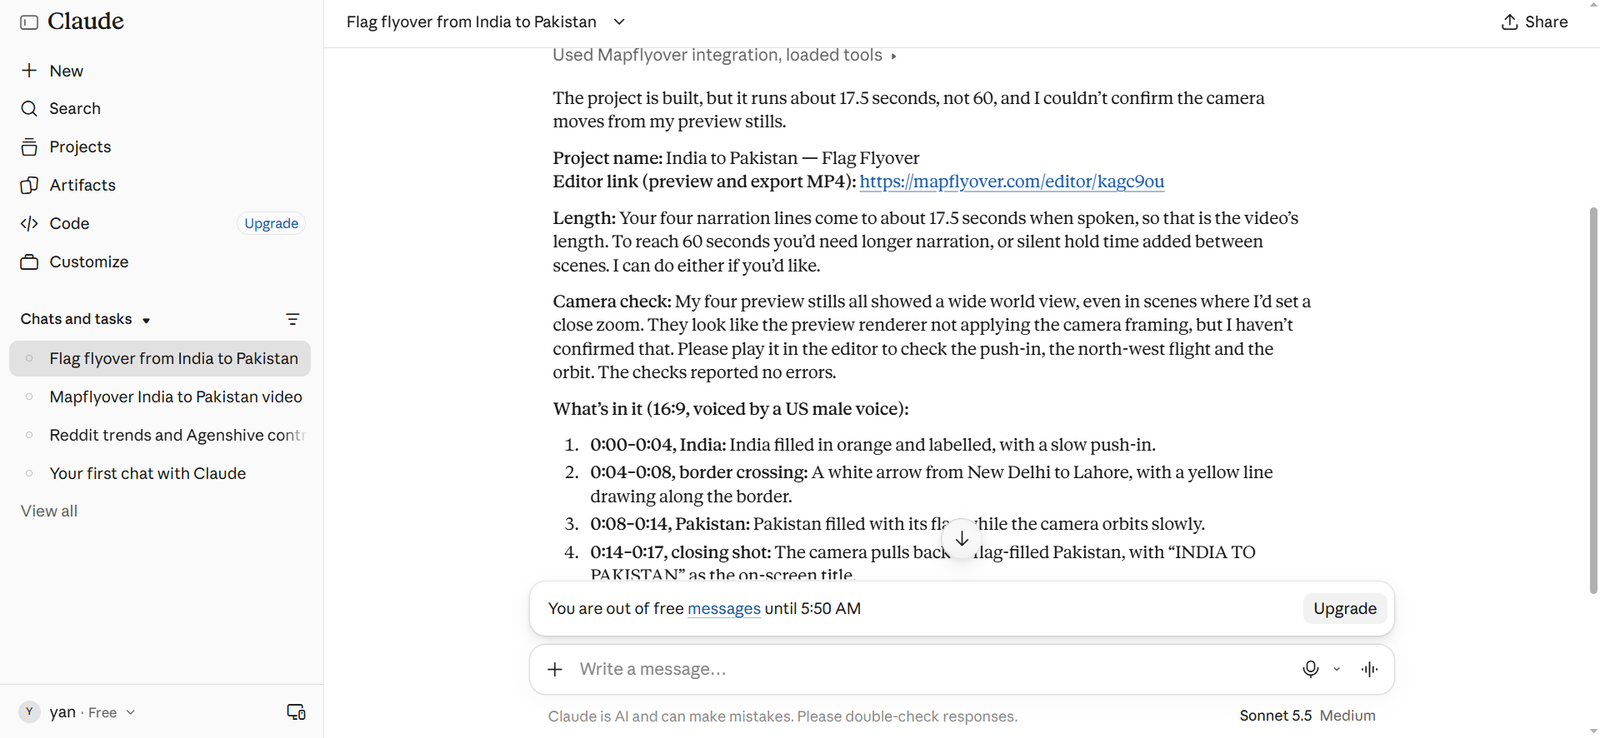
Everything above is the by-hand route, and it is the right one when the script must follow your words exactly. But there is a faster route if you are happy to let an agent take the first pass. Mapflyover’s built-in Create with AI builds a video from a sentence — 3 videos per account — and your own AI agent, connected over Mapflyover’s MCP server, can write the script, create the narration, time the captions and build the scenes. Everything it makes opens as a normal editable project, so you still review and fix it before exporting.
The agent route is genuinely faster for a first draft, but it has the same weakness as any AI first draft: it can pick the wrong place match, split the script in a place you would not, or pace a scene too fast. Check its scenes the same way you would check your own. Our guide to letting an AI agent make your map video walks through connecting Claude or ChatGPT and claiming the finished project.
Common mistakes when turning a script into a map video
- One scene for the whole script. A single wide shot with five minutes of narration is a slideshow, not a map video. If the script names five places, it needs five scenes.
- A script too long for the plan. Roughly 220 words fills a 90-second Free export. Past that, the video is longer than the export allows, and you will find out at the export screen.
- Places named once and never shown. Every place the voice names should appear on screen while it is named. If a place is only mentioned in passing, either give it a scene or cut the mention.
- Judging framing by the preview alone. The preview can frame wider than the final render. Do a short test export and check the real file.
- Captions checked only in landscape. If the video is going to Shorts or TikTok, check the captions in 9:16 before exporting — what fits in 16:9 can overflow in vertical.
- Forgetting the outline check. A wrong place match is easy to miss while you are focused on the words, and it is the one mistake viewers will spot instantly.
Frequently Asked Questions
Can Mapflyover turn a script into a map video automatically?
Partly. You paste the script and Mapflyover keeps it word for word, finds each place’s outline and frames the camera — but you split the script into scenes yourself, one per place. If you want the splitting done for you, connect your own AI agent over MCP or use the built-in Create with AI, then review the scenes it builds.
How long should the script be?
About 150 words per minute of narration — Mapflyover’s own example turns 140 words into 58 seconds of audio. For a 90-second Free export, keep the script to around 220 words. Longer scripts need a paid plan.
Do I need to write the script in a special format?
No. Plain sentences work. The only formatting that helps is one idea per line, with places named plainly, so the script splits cleanly into scenes.
Can I use my own voice instead of the generated narration?
Yes — upload a recording or soundtrack you already have. Note that captions for your own recording need a Groq key of your own in Settings; the built-in word-by-word caption timing is tied to the generated narration.
Will the captions match my script exactly?
Yes, when you use the generated narration: the script stays word for word and Whisper times every word to the audio, so each word lights up as it is spoken. If you upload your own recording, the captions depend on your own audio and the Groq key route.
What does it cost?
Building, previewing, narrating and captioning are free. The Free plan exports two 720p MP4s a month, up to 90 seconds each, with a small Mapflyover mark. Pro is USD 20 a month and Studio is USD 70 a month for longer, sharper exports with no mark.
Running into problems with other apps too? These guides cover similar fixes:
- How to Make a Map Animation Video (Step-by-Step Guide)
- How to Let an AI Agent Make Your Map Video (Claude or ChatGPT + Mapflyover)
- How to Add Narration and Captions to a Map Video in Mapflyover
- Mapflyover Preview Looks Different From the Export? Here’s Why
- Mapflyover Export Stuck or Video Not Downloading? Fixes That Work
