Quick Fix for a Flat Tyre
A sudden flat tyre can be incredibly frustrating. Fortunately, emergency tyre repair kits offer a rapid, temporary solution for minor punctures. These kits empower you to seal small holes quickly and efficiently. This means you won’t be left stranded by the roadside for long. You can quickly restore enough tyre pressure to reach a professional garage. Expect to regain mobility and peace of mind. This comprehensive guide will walk you through the entire process. You will learn to use your kit effectively and safely. It’s a valuable skill for any driver.
Why This Method Works So Well
Emergency repair kits are ingenious devices. They inject a specialized sealant directly into your tyre. This sealant flows within the tyre, seeking out the source of the leak. It then effectively plugs the hole, creating a temporary seal. Following this, a compact air compressor re-inflates the tyre to a safe driving pressure. This process is significantly faster than manually changing a spare tyre. It also requires less physical effort. Therefore, these kits are perfect for small punctures in the tyre tread. They offer a quick escape from a difficult situation. They are designed for convenience and safety.
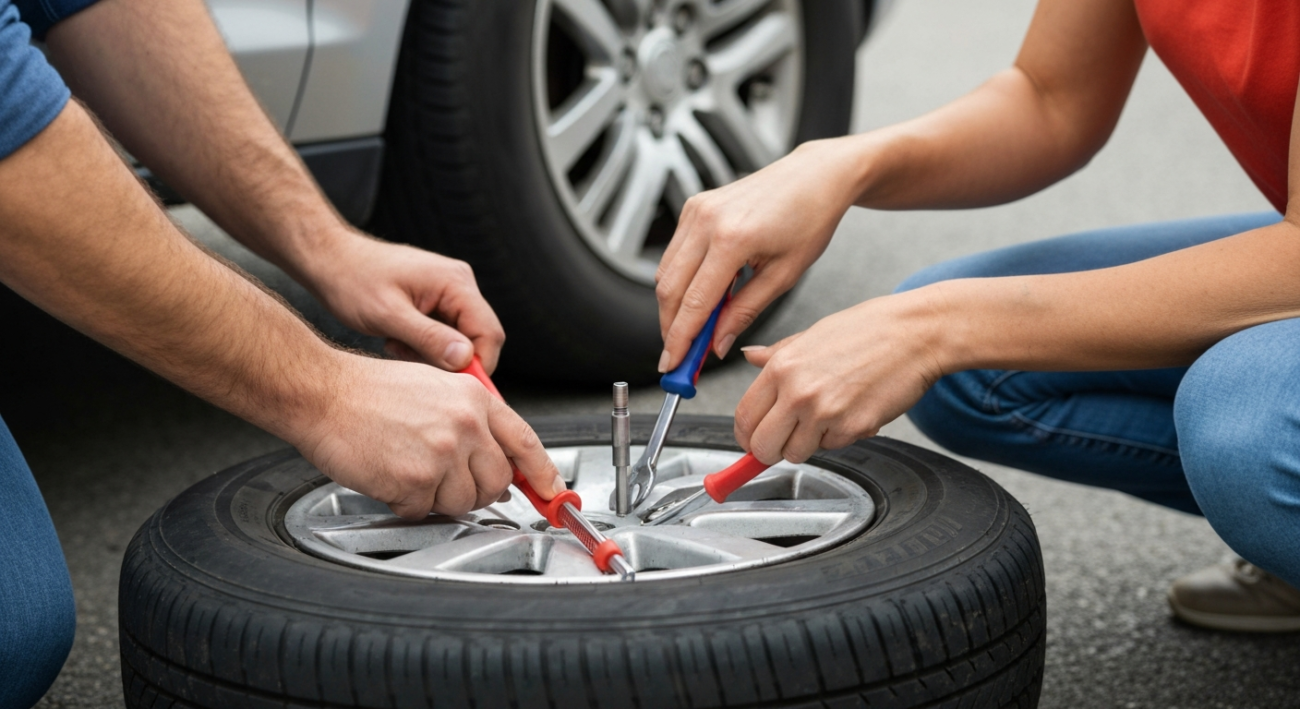
What You’ll Need for Emergency Tyre Repair Kits
- Your vehicle’s emergency tyre repair kit (includes sealant and compressor)
- Vehicle owner’s manual (for recommended tyre pressure and kit instructions)
- Safety vest or warning triangle (for visibility)
- Gloves (to keep hands clean)
- A rag or cloth (for cleaning up any sealant spray)
- Your smartphone (for emergencies or looking up specific instructions)
Step-by-Step Instructions for Repair
Step 1: Prioritize Your Safety and Location
Your safety is always the top concern. As soon as you realize you have a flat tyre, engage your hazard lights. Slowly and carefully guide your vehicle to a safe spot. Choose a firm, level surface well away from moving traffic. Parking on a hard shoulder or in a quiet car park is ideal. Avoid soft ground or uneven surfaces. Once stopped, ensure your parking brake is firmly applied. This prevents any unintended vehicle movement during the repair. If you have a high-visibility vest or a warning triangle, deploy them now. This alerts other drivers to your presence.
Step 2: Carefully Inspect the Tyre and Locate Puncture
Walk around your vehicle to identify the affected tyre. Examine the tyre tread thoroughly for any foreign objects. Look for nails, screws, glass, or sharp stones. It’s crucial to determine the type and location of the damage. Emergency kits are primarily for small punctures in the main tread area. They are not suitable for large tears, sidewall damage, or punctures near the tyre’s edge. If the object causing the puncture is still embedded, do not remove it yet. It can help contain the air and sealant during the repair process. Locate the tyre’s valve stem and ensure it’s easily accessible.
Step 3: Connect the Sealant and Compressor Assembly
Before starting, briefly shake the sealant bottle if it’s separate from the compressor. This ensures the sealant is well-mixed. Carefully follow the specific instructions provided with your kit. There are variations between brands. Most kits require you to attach the sealant bottle to the compressor unit. Once connected, securely screw the compressor’s hose onto the tyre’s valve stem. Twist it firmly until it’s hand-tight. You want a secure, airtight connection to prevent sealant or air from escaping during inflation. Double-check all connections to ensure they are snug.
Step 4: Inflate the Tyre to Recommended Pressure
Start your vehicle’s engine. This provides the necessary power for the compressor. Plug the compressor’s power cord into your car’s 12V auxiliary power outlet. Turn on the compressor unit. The sealant will be injected into the tyre, followed by air. Monitor the pressure gauge on the compressor closely. Inflate the tyre to the PSI (pounds per square inch) recommended by your vehicle manufacturer. You can find this crucial information in your owner’s manual. It is also often printed on a sticker inside the driver’s door jamb. If the tyre fails to inflate, or if air escapes rapidly, the puncture may be too large. In such cases, you might need a tow or to consult a complete guide on changing a tyre if you have a spare.
Step 5: Disconnect the Kit and Drive Gently
Once the tyre reaches the correct pressure, turn off the compressor. Then, turn off your vehicle’s engine. Carefully and quickly disconnect the hose from the tyre valve stem. Expect a tiny bit of air or sealant to escape; this is normal. Replace the valve cap firmly. Now, it’s time to drive. Immediately drive your vehicle for about 10 to 15 minutes at a moderate speed. Aim for around 30-40 mph (50-65 km/h). This allows the sealant to spread evenly inside the tyre. The sealant will then react with the air pressure and seal the puncture more effectively as the tyre rotates. Avoid sudden stops or sharp turns during this initial drive.
Step 6: Recheck Tyre Pressure and Head to a Professional
After your initial drive, pull over safely once again. Recheck the tyre pressure with a reliable gauge. If the pressure has dropped significantly, repeat step 4, inflating the tyre with just the compressor (without additional sealant). Do not add more sealant unless absolutely necessary. The goal is to maintain the recommended PSI. If the pressure holds, drive directly to the nearest tyre repair shop or garage. Inform the technicians that you used an emergency repair kit. This repair is only a temporary solution. It is not designed for long-term use. Professional inspection and repair or replacement are essential for your safety.
Common Errors When Using Emergency Tyre Repair Kits
- Not reading the specific instructions for your kit first.
- Attempting to fix large punctures or sidewall damage with the kit.
- Forgetting to start the car’s engine before using the compressor.
- Driving at high speeds immediately after the repair.
- Not rechecking the tyre pressure after the initial drive.
- Assuming the repair is permanent and delaying professional service.
If Something Doesn’t Work as Expected
The tyre isn’t inflating, or it deflates quickly after inflation.
This often means the puncture is too large for the kit to handle. Emergency kits are designed for small tread punctures only, usually less than 6mm in diameter. Sidewall damage cannot be fixed. In this scenario, the kit won’t work, and you will need professional roadside assistance or a tow. It’s also worth understanding the causes of flat tyres to prevent similar issues in the future.
The compressor isn’t turning on or running correctly.
First, ensure your vehicle’s engine is running. The compressor needs the engine’s power. Check that the compressor’s power cord is fully and securely plugged into the car’s 12V accessory socket. If it still doesn’t work, check your car’s fuse box for a blown fuse related to the 12V outlet. Refer to your vehicle’s owner’s manual for fuse box locations and diagrams.
Sealant sprays out excessively when connecting or disconnecting.
A small amount of sealant might escape during these actions, which is normal. However, if it’s excessive, ensure the hose connection to the tyre valve is very tight. Screw it on firmly and quickly. When disconnecting, do so swiftly to minimize loss. If the valve stem itself is damaged, that could be the problem, and a kit won’t help.
What Success Looks Like
Upon successful application of your repair kit, your tyre will be re-inflated and holding air. You will be able to drive your vehicle safely, albeit at reduced speeds, to the nearest service centre. The tyre will appear firmer and support the vehicle correctly. The aim is to make your vehicle mobile again for a short journey. This temporary fix provides a crucial bridge to professional help. It allows you to avoid being stranded. Remember, this is a stop-gap measure, not a permanent repair.
Quick Recap and Assurance for Drivers
Mastering the use of an emergency tyre repair kit is an empowering skill for any driver. It offers a quick, practical solution for common flat tyre scenarios. This guide has provided clear, concise steps to help you through the process. Always prioritize your safety and follow the instructions carefully. While these kits are temporary fixes, they provide invaluable mobility. You can confidently get your vehicle to a professional for a proper repair or replacement. Stay prepared, and you’ll navigate unexpected flat tyres with ease.