Quick Answer: How to Fix a Slow Tire Leak Temporarily
If you discover a slow tire leak, you can temporarily seal it using a tire plug kit or liquid tire sealant. This quick fix will allow you to drive your vehicle to a professional repair shop safely. It’s crucial to understand that this is not a permanent solution, but a way to prevent further damage and avoid being stranded. You’ll regain tire pressure and maintain control until proper repair is done. Knowing how to fix a slow tire leak is a handy skill for any driver.
Why This Temporary Fix Works
Temporary tire repair methods, like plugs or sealants, work by physically filling or coating small punctures. Tire plugs expand to block the hole, while sealants create a sticky barrier. These solutions are effective for nail-sized punctures in the tire tread. They restore air pressure, improve handling, and buy you time. This method ensures you avoid driving on a completely flat tire, which can cause significant damage to the wheel and suspension components.
What You Need to Fix a Slow Tire Leak
- Tire plug kit (includes reamer, insertion tool, and plugs)
- Or liquid tire sealant (aerosol can)
- Portable air compressor or tire inflator
- Jack and lug wrench (if removing tire for easier access)
- Pliers or wire cutters (to remove puncturing object)
- Spray bottle with soapy water (to locate leak)
- Safety gloves and eye protection
Step-by-Step Instructions for Temporary Tire Repair
Step 1: Safely Position Your Vehicle and Gather Supplies
First, find a safe, level spot away from traffic to pull over. Engage your parking brake. If you need to remove the tire for better access, use your jack and lug wrench. Gather your chosen repair kit and air compressor. Safety is your top priority when dealing with vehicle issues on the side of the road or in a parking lot. Make sure you have good lighting if it’s dark.
Step 2: Locate the Source of the Leak
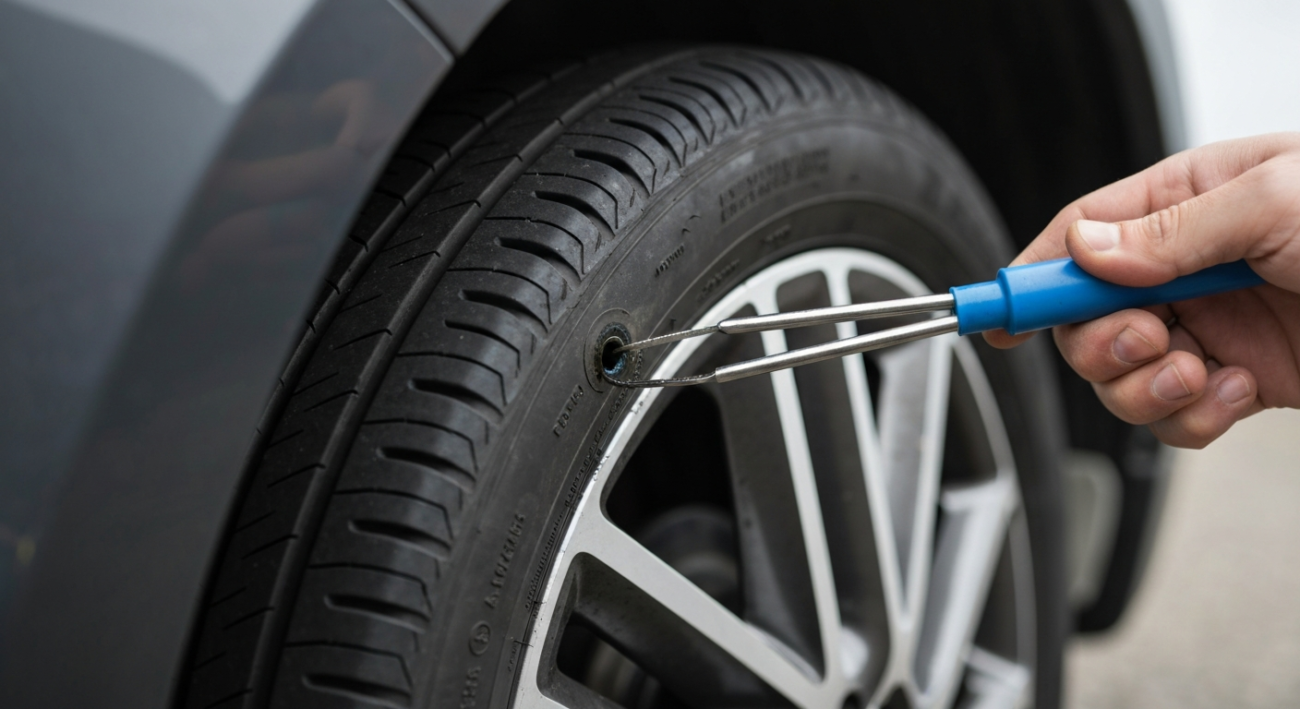
Carefully inspect the tire tread and sidewall for any obvious foreign objects like nails or screws. If you don’t see anything, mix some dish soap with water in a spray bottle and spray it over the entire tire surface. Look for bubbles forming, which indicate the exact location of the leak. This step is critical to ensure you target the right spot for repair. Once found, mark it with chalk or a marker.
Step 3: Remove the Object and Prepare the Hole (for Plug Kits)
Using pliers, carefully remove the object that caused the puncture. Be gentle to avoid enlarging the hole. Next, take the reamer tool from your tire plug kit and insert it into the puncture. Work it in and out a few times to clean and slightly enlarge the hole. This creates a rough surface that helps the plug adhere better. Skip this step if you are using a liquid sealant.
Step 4: Apply the Plug or Sealant
If using a plug kit, thread a plug into the eye of the insertion tool. Push the tool firmly into the prepared hole until about an inch of the plug remains visible. Quickly pull the tool out, leaving the plug securely in place. If using liquid sealant, attach the sealant can to the tire valve stem and follow the product’s instructions to inject the sealant. The sealant will coat the inside of the tire, sealing small punctures.
Step 5: Re-inflate the Tire to Recommended Pressure
Connect your portable air compressor to the tire valve stem. Inflate the tire to the manufacturer’s recommended pressure, which can usually be found on a sticker inside your driver’s side door jamb or in your owner’s manual. Do not overinflate. While the tire is inflating, listen for any hissing sounds that might indicate the repair didn’t hold. A steady pressure gauge reading indicates success.
Step 6: Verify the Repair and Drive Carefully to a Shop
After inflation, spray the repaired area again with soapy water to double-check for any remaining leaks. If no bubbles appear, the temporary fix is successful. Drive your vehicle cautiously and directly to a tire shop or mechanic for a permanent repair or replacement. Remember, this is only a temporary solution. Regularly checking your tires is part of good car maintenance basics.
Common Mistakes When Fixing Tire Leaks
- Assuming the temporary fix is permanent and delaying professional repair.
- Trying to repair punctures in the tire sidewall, which is unsafe and ineffective.
- Not removing the puncturing object before attempting a repair.
- Failing to re-check tire pressure after driving for a short distance.
If the Temporary Fix Doesn’t Hold
The tire continues to lose air after repair.
The puncture might be larger than anticipated, or located in an area not suitable for a temporary plug/sealant (e.g., sidewall). Re-evaluate the leak’s size and location. If it’s too big, your temporary fix won’t hold, and you’ll need to use your spare tire or call roadside assistance immediately.
The sealant did not fully stop the leak.
Some sealants are designed for specific types of punctures. Ensure you followed the instructions precisely, including driving for a short distance immediately after application to distribute the sealant. If it still leaks, the damage might be too extensive for sealant alone. Consider a plug kit if the puncture is in the tread and small enough.
Expected Result: A Safe, Temporary Seal
A successful temporary repair means your tire will hold air for a period, allowing you to drive safely to a qualified service center. You’ll notice improved handling and reduced risk of further tire or wheel damage. The goal is to avoid being stranded and ensure you can reach a professional without further incident. This temporary patch provides peace of mind on the road.
Quick Summary: Get Back on the Road Safely
Knowing how to temporarily fix a slow tire leak can be a lifesaver. While these methods are not permanent, they offer a crucial short-term solution to get your vehicle to a repair shop. Always prioritize safety, use the correct tools, and remember that a professional inspection and permanent repair are essential for long-term roadworthiness. Drive smart and stay safe out there!