Quick Answer: Learning How to Check Tire Pressure
To ensure your vehicle’s safety and optimal performance, it’s crucial to know how to check tire pressure regularly. You’ll need a reliable tire gauge and ideally, check your tires when they are cold. The result is tires that are properly inflated, leading to better handling, extended tire life, and improved fuel economy. This simple maintenance task can save you money and keep you safer on the road. Knowing the correct steps will give you peace of mind.
Why Correct Tire Pressure Matters
Maintaining the right tire pressure is like giving your car a health check. It ensures even wear across the tire tread, maximizing its lifespan. Proper inflation also improves your car’s grip on the road, which is essential for safe braking and handling. Plus, correctly inflated tires reduce rolling resistance, which means your engine doesn’t have to work as hard, saving you money on gas. For more general advice on keeping your vehicle in top shape, check out this guide on car maintenance basics. It’s a small effort with big returns.
What You Need to Get Started
- Accurate tire pressure gauge (digital or stick)
- Your vehicle’s recommended tire pressure (found in owner’s manual or door jamb)
- A stable, flat surface to park your car
- Time when tires are cold (driven minimally or not at all)
Step-by-Step Guide on How to Check Tire Pressure
Step 1: Gather Your Tools and Find PSI Information
Before you begin, make sure you have an accurate tire pressure gauge. You’ll also need to know your car’s recommended PSI (pounds per square inch). This information is usually on a sticker inside your driver’s side door jamb, in your glove compartment, or your owner’s manual. Never use the maximum pressure listed on the tire itself.
Step 2: Ensure Tires Are Cold
For the most accurate reading, check your tire pressure when the tires are cold. This means your car hasn’t been driven for at least three hours, or has only been driven for a short distance at low speeds. Driving heats up the air inside your tires, which can give you an artificially high reading.
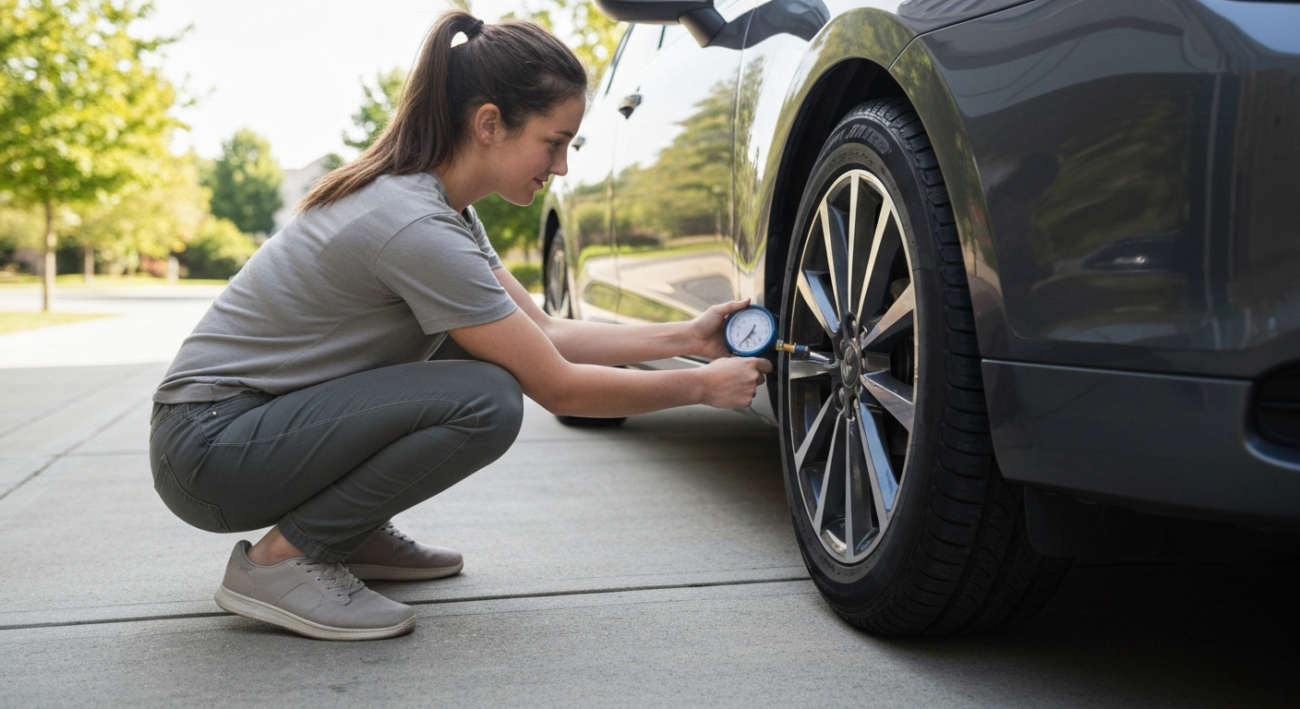
Step 3: Remove Valve Cap and Press Gauge
Unscrew the valve cap from one of your tires and set it aside in a safe place. Firmly press the tire pressure gauge straight onto the valve stem. You’ll hear a brief hiss of air escaping; this is normal. Hold the gauge steady until the reading stabilizes. For stick gauges, the indicator will pop out; for digital gauges, the screen will display the number.
Step 4: Read the Pressure and Compare
Note the PSI reading on your gauge. Compare this number to your car’s recommended PSI. Remember, the recommended pressure for front and rear tires might be different, so check both. If the reading is lower than recommended, your tire is underinflated. If it’s higher, it’s overinflated.
Step 5: Adjust Air Pressure as Needed
If your tire pressure is too low, add air using an air compressor until it reaches the recommended PSI. If it’s too high, gently press the small pin in the center of the valve stem to release air until the correct pressure is achieved. Re-check the pressure with your gauge after any adjustments. Repeat this process for all four tires, and don’t forget your spare tire if applicable!
Step 6: Replace Valve Caps
Once all tires are at their correct pressure, screw the valve caps back onto each valve stem. These caps protect the valve from dirt, moisture, and potential damage, which can lead to slow air leaks. This simple step completes the process and ensures your tires are ready for the road.
Common Mistakes to Avoid
- Checking hot tires, which gives an inaccurate high reading
- Using the maximum pressure listed on the tire sidewall instead of the car manufacturer’s recommendation
- Forgetting to check the spare tire
- Not having an accurate or calibrated tire gauge
- Ignoring visible signs of low pressure, like a saggy appearance
If You Have Trouble When You How to Check Tire Pressure
Gauge won’t give a reading or air leaks out.
Ensure the gauge is pressed firmly and straight onto the valve stem. The stem might be bent, or the valve core could be loose or damaged. Replace the valve cap securely and try again. If the issue persists, a professional inspection is recommended.
Tires constantly lose air after inflation.
You might have a slow leak. This could be due to a nail, a faulty valve stem, or a leak around the rim. Visually inspect the tire for punctures or take it to a mechanic for a professional check. Ignoring slow leaks can be dangerous.
Can’t find the recommended PSI for your vehicle.
Check your owner’s manual first. If not there, look for a sticker on the driver’s side door jamb, inside the glove compartment, or even on the fuel filler flap. You can also search online using your car’s make, model, and year.
Enjoy the Benefits of Properly Inflated Tires
With all your tires correctly inflated, you’ll immediately notice the difference. Your car will handle better, feel more stable, and brake more effectively. You’ll also extend the life of your tires, saving money on replacements, and improve your fuel economy. This routine maintenance task is quick, easy, and provides significant benefits for your vehicle and your wallet. You’re now driving safer and smarter.
Quick Recap for Tire Pressure
Regularly checking your tire pressure is a small effort that yields big rewards for your safety and vehicle longevity. Remember to use a reliable gauge, check cold tires, and follow your manufacturer’s recommended PSI. Avoid common mistakes like using hot tires or the wrong pressure numbers. This simple maintenance routine ensures a smoother, safer, and more economical driving experience. Keep those tires happy!