Solving the Annoying Running Toilet Mystery
Few household sounds are as irritating as a toilet that just won’t stop running. That constant gurgle or hiss isn’t just a nuisance; it’s a clear sign of wasted water, and wasted water means higher utility bills. If you’ve ever wondered, “Why is my toilet running constantly?” you’re not alone. This guide is here to shed light on the most frequent culprits behind this common plumbing problem. More importantly, it provides you with straightforward, actionable steps to diagnose and fix it yourself, saving you money and the headache of a professional plumber’s visit for simple issues. Let’s silence that irritating hum and get your toilet working efficiently again.
Unveiling the Causes of a Running Toilet
- The flapper valve isn’t sealing properly. This is often the main reason your toilet keeps running. The rubber flapper can become old, warped, or covered in mineral deposits, preventing a tight seal over the flush valve opening. Water then leaks into the bowl, prompting the tank to refill constantly.
- The flapper chain is too long or too short. If the chain connecting the flush lever to the flapper is too short, it might not allow the flapper to fully close. If it’s too long, it can get tangled under the flapper, again preventing a proper seal.
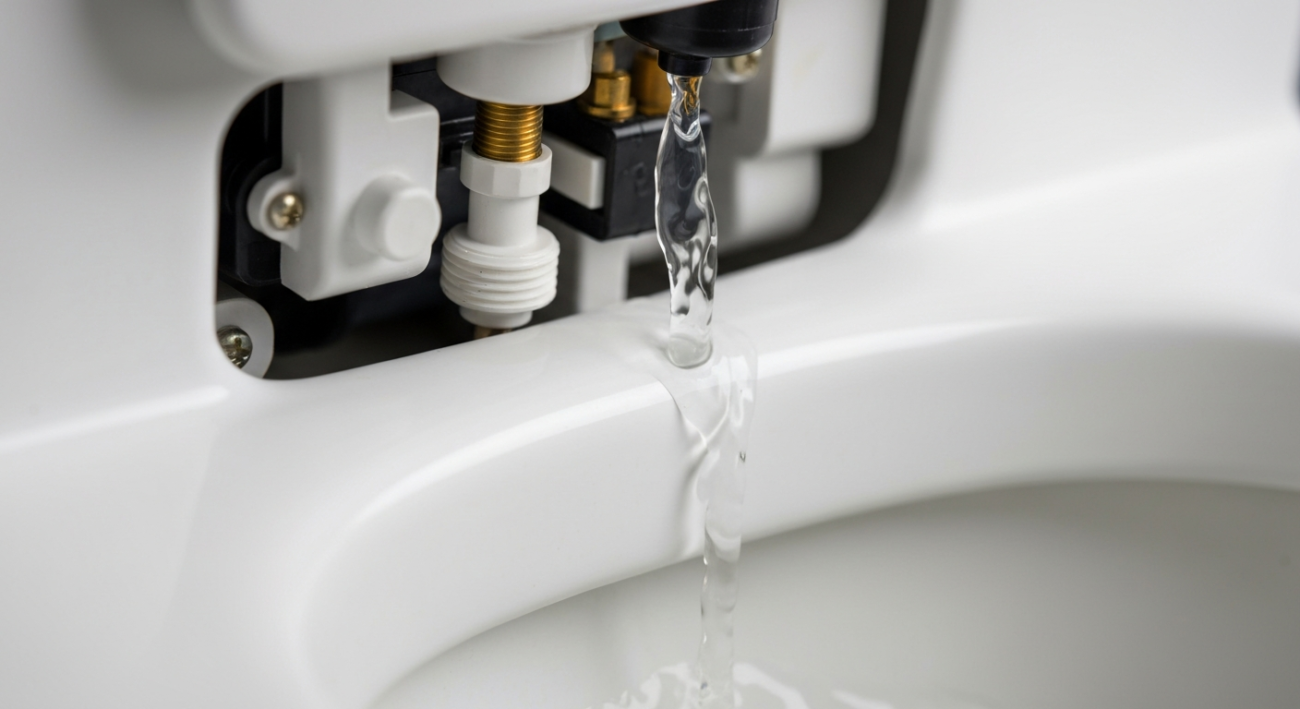
- The fill valve is malfunctioning. The fill valve controls the water refilling the tank after a flush. If it’s faulty, it might not shut off completely, leading to an overflow into the overflow tube, or it might be improperly adjusted.
- The float arm or cup is set too high. The float tells the fill valve when to stop filling. If the float is set too high, the water level will rise above the overflow tube, causing water to continuously drain into the bowl.
- Sediment or mineral buildup is interfering with components. Hard water can lead to mineral deposits on the flapper, fill valve, or other internal parts. This buildup can impede their proper function, leading to leaks and constant running.
- A silent leak through the flush valve. Sometimes the issue isn’t obvious. A tiny crack in the flush valve assembly or a warped seat can cause a slow, undetectable leak that still drains water and keeps the fill valve active.
Essential Tools for Your Toilet Repair Toolkit
- Adjustable wrench or pliers: Useful for tightening nuts or adjusting components.
- Sponge and bucket: For soaking up any spilled water or emptying the tank.
- Old toothbrush or small brush: Great for cleaning mineral deposits from internal parts.
- Replacement flapper: Ensure you get one that matches your toilet model (universal ones exist).
- Replacement fill valve kit: If your fill valve is the issue, a complete kit can be an easy fix.
- Scissors or wire cutters: To adjust the length of the flapper chain if needed.
- Rubber gloves: For hygiene and a better grip.
Simple DIY Steps to Stop a Running Toilet
- Check and adjust the flapper chain: Ensure the chain has just a little slack (about half an inch) when the flapper is closed. If it’s too tight, shorten it; if too loose, adjust its attachment point.
- Inspect and clean the flapper seal: Turn off the water supply to the toilet (usually a valve behind or near the base). Flush the toilet to empty the tank. Examine the rubber flapper for wear, tears, or mineral buildup. Clean it with a brush. If it’s damaged, replace it. You can learn more about specific steps for these running toilet repairs online.
- Adjust the float arm or cup: With the water supply on, observe the water level. If it’s too high (above the overflow tube), gently bend the float arm down (for ballcock style) or adjust the clip on the vertical rod (for float cup style) to lower the water level by about one inch below the top of the overflow tube.
- Inspect the fill valve for issues: Sometimes the fill valve itself is faulty. Listen for a subtle hiss or look for a small stream of water constantly trickling into the overflow tube. If the valve mechanism is worn or broken, it will need to be replaced.
- Clean out any sediment or debris: Over time, sediment can build up in the tank, interfering with the flapper’s seal or the fill valve’s operation. Gently clean the bottom of the tank and around the flapper seat.
- Perform a dye test for silent leaks: Add a few drops of food coloring to the toilet tank. Wait 15-30 minutes without flushing. If the color appears in the toilet bowl, you have a silent leak, likely from the flapper.
Important Safety Tips for Toilet Repair
- Always turn off the water supply before starting any work inside the toilet tank. This prevents accidental flooding. The shut-off valve is typically located on the wall behind or beneath the toilet.
- Avoid overtightening nuts and bolts. Toilet components, especially those made of plastic or ceramic, can crack if too much force is applied. Hand-tighten where possible, then give a quarter-turn with a wrench if needed.
- Wear gloves to maintain hygiene, as toilet tanks can harbor bacteria and grime. Rubber gloves also provide a better grip on slippery components.
- Be mindful of your back. Toilets can be heavy, and bending over the tank can strain your back. Take breaks and lift with your legs if you need to maneuver the toilet itself.
- If you encounter strong resistance or something doesn’t feel right, stop. Forcing parts can cause more damage. It’s better to reassess or call a professional than to break something critical.
When to Bring in the Plumbing Experts
- If, after trying all the suggested DIY fixes, your toilet is running constantly, it’s time to call a professional plumber. They have specialized tools and expertise for complex issues.
- You suspect a leak behind the wall or in the floor. Unexplained damp spots or sounds of running water from inside the wall are major red flags that require expert diagnosis and repair.
- You’re dealing with old or rusted components that won’t budge or might break when you try to fix them. Forcing these can lead to bigger, more expensive problems.
- The toilet itself is old, cracked, or severely damaged. In some cases, replacing the entire toilet might be more cost-effective than repeatedly repairing an old unit.
- You’re uncomfortable working with plumbing or lack the necessary tools and experience. There’s no shame in calling for help to ensure the job is done correctly and safely.
- The problem extends beyond a single toilet, indicating a larger issue with your home’s water pressure or supply lines.
Putting an End to the Running Toilet Nuisance
A toilet that keeps running is more than just an annoyance; it’s a silent drain on your wallet and a waste of precious resources. Understanding “Why Is My Toilet Running Constantly?” empowers you to tackle this common household issue with confidence. From a simple flapper adjustment to a fill valve replacement, many fixes are straightforward and require only basic tools. By following these steps, you can prevent unnecessary water consumption, lower your utility bills, and restore peace and quiet to your home. Remember to perform regular checks and maintenance to keep your toilet in top working order. If you’ve tried everything and the problem persists, don’t hesitate to seek professional help. Your home and your wallet will thank you!