A hand pointing to the screen recording options on a MacBook Pro screen, showing the macOS toolbar activated by Command + Shift + 5, with icons for recording the entire screen, a selected portion, or a window, and the 'Options' menu visible.

How to Screen Record on Mac

Ali Hassan
Ali Hassan
Writer
Screen recording on your Mac allows you to capture on-screen activity, perfect for creating tutorials, presentations, bug reports, or simply saving memorable moments. macOS provides powerful, built-in tools that make recording your screen straightforward and efficient, without the need for complex third-party software. This guide will walk you through using these native features, ensuring you can easily record your entire screen, a specific window, or a selected portion, complete with audio. We focus on practical steps to help you master this essential skill quickly and confidently, turning your Mac into a versatile content creation device.
The Practical Method
To screen record on a Mac, press Command + Shift + 5 to open the screenshot toolbar. Select your recording area (full screen, window, or custom selection), choose audio input from "Options," then click "Record." To stop, click the stop icon in the menu bar or press Command + Control + Esc. Your recording saves automatically to your desktop.

What This Guide Covers

This guide provides clear, step-by-step instructions for screen recording on your Mac using the macOS built-in tools, including the screenshot toolbar (Command + Shift + 5) and QuickTime Player. You will learn how to capture video of your entire screen, specific windows, or custom sections, along with how to include audio. We will also cover essential preparation, common pitfalls, and tips for optimal recording.

Essential Tools for Recording

macOS Built-in Screen Recording
This feature is activated via the Command + Shift + 5 shortcut and offers comprehensive recording options for full screen, selected portions, or windows.
QuickTime Player
A native macOS application that provides a simple interface for screen recording, audio recording, and movie recording, offering an alternative to the screenshot toolbar.
External Microphone (Optional)
While your Mac has a built-in microphone, an external one can significantly improve audio quality for voiceovers or presentations.

Materials You Will Need

Mac Computer
Any Mac running macOS Mojave (10.14) or later will have the advanced screen recording features.
Sufficient Storage Space
Video files can be large, so ensure you have enough free disk space to save your recordings.
Power Adapter
Ensure your Mac is plugged in or has ample battery life, as recording can consume significant power.

Before You Start Recording

Confirm macOS Version

Verify that your Mac is running macOS Mojave (10.14) or a newer version. The advanced screen recording toolbar (accessed by Command + Shift + 5) was introduced in Mojave, offering more robust features than older macOS versions. To check your version, click the Apple menu in the top-left corner of your screen, then select "About This Mac." This ensures compatibility with the instructions provided in this guide.

Prepare Your Recording Environment

Before you begin recording, optimize your screen. Close any unnecessary applications or browser tabs to minimize distractions and improve performance. Clear your desktop of personal files or sensitive information that you don't want to share. If you need to make space, learn how to Uninstall Apps on Mac. Also, ensure notifications are turned off to prevent pop-ups from appearing during your recording, maintaining a clean and professional look. If you haven't mastered basic Screenshots on MacBook Air yet, it's worth a quick review, as the tools are similar.

How to Screen Record on Mac

1

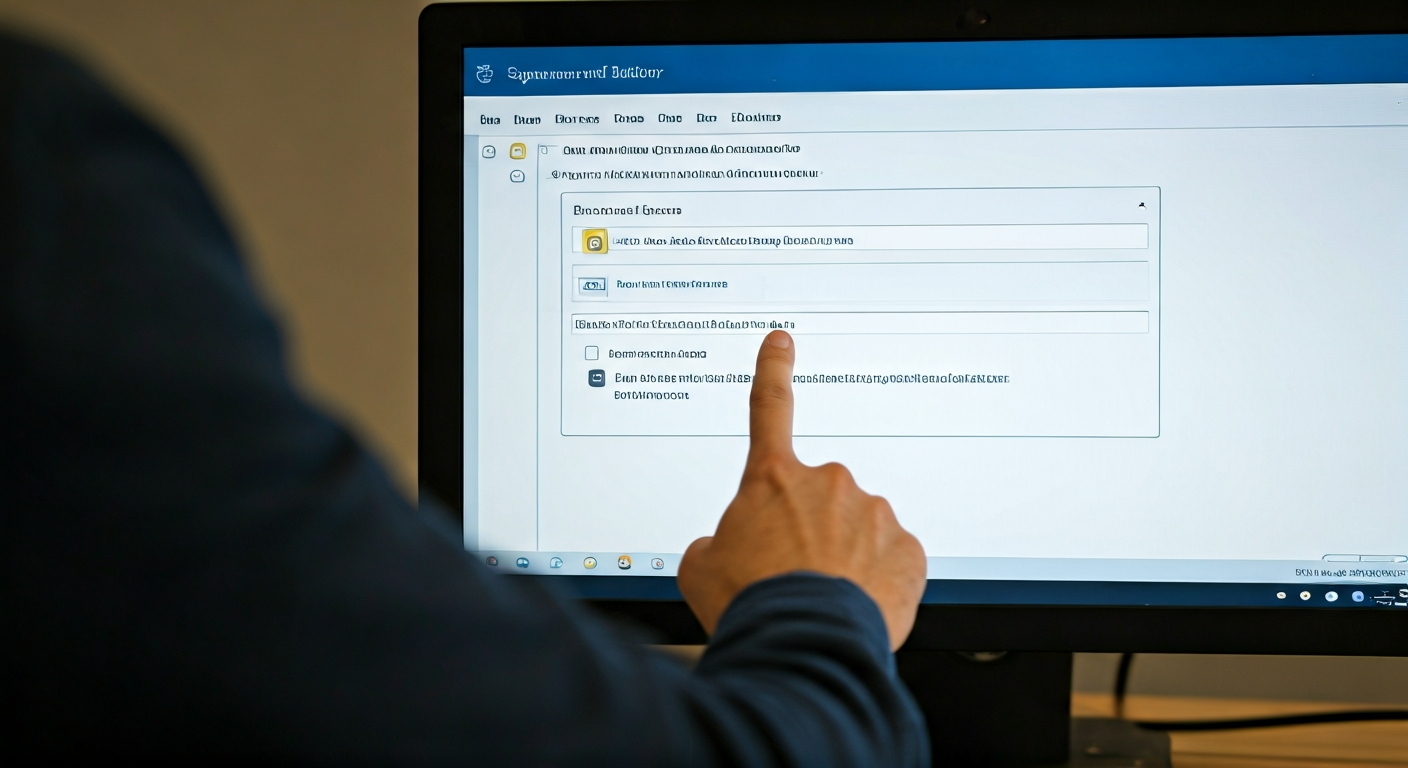
Access the Screen Recording Toolbar

Press Command + Shift + 5 simultaneously on your keyboard. This action brings up the screenshot and screen recording toolbar at the bottom of your screen, displaying various options for capturing content.
2

Choose Your Recording Type

On the toolbar, select one of the three screen recording icons: "Record Entire Screen" (the solid rectangle), "Record Selected Portion" (the dashed rectangle), or "Record Selected Window" (the rectangle with a small window icon). If you choose a portion or window, drag to select the area or click the desired window.
3

Configure Recording Options

Click "Options" on the toolbar. Here, you can select where to save your recording (e.g., Desktop, Documents), set a timer (None, 5 seconds, 10 seconds), and choose your microphone input (e.g., "Built-in Microphone" or an external mic). You can also show or hide mouse clicks and floating thumbnails.
4

Start Your Screen Recording

Once your options are set, click the "Record" button on the toolbar. If you selected a portion or window, clicking "Record" will initiate the capture within that specific area. A small square stop icon will appear in your Mac's menu bar at the top of the screen.
5

Stop the Recording

To end the recording, click the square stop icon in the menu bar at the top of your screen. Alternatively, you can press Command + Control + Esc on your keyboard. Your Mac will automatically save the recording as a .mov file to the location you specified in the "Options" menu (default is the Desktop).
6

Preview and Trim the Video

After stopping, a thumbnail of the recording briefly appears in the bottom-right corner of your screen. Click it to open the preview. You can then use the built-in trimming tools at the bottom of the preview window to cut unwanted sections from the beginning or end of your video before saving the final version.
7

Alternative: Record with QuickTime Player

Open QuickTime Player from your Applications folder. Go to "File" > "New Screen Recording." A small recording window will appear. Click the down arrow next to the record button to select your microphone and other options. Click the red record button to start. You can choose to record the entire screen or drag a box to select a portion. Apple Support provides comprehensive details on screen recording features and options for both methods.
8

Stop and Save in QuickTime

Once you're finished recording with QuickTime, click the stop button in the menu bar. QuickTime Player will open the recorded video automatically. You can then play it back, trim it, and save it by going to "File" > "Save" and choosing a name and location for your file.

Expert Recording Tips

Use an external microphone for clearer audio, especially for voiceovers.
Practice a few times before your final recording to get comfortable with the process and timing.
Keep your desktop tidy and close irrelevant apps to maintain focus and prevent distractions.
For sensitive content, record only a specific window or portion, not your entire screen.
Monitor your Mac's storage regularly, as video files consume significant disk space.

Avoid These Common Mistakes

No Audio Captured
Forgetting to select a microphone in the 'Options' menu (for Command + Shift + 5) or the recording window (for QuickTime Player) will result in a silent video. Always double-check your audio input source before starting.
Recording Too Much Information
Recording your entire screen when you only need a specific window or application can expose personal notifications or clutter. Use the 'Record Selected Portion' or 'Record Selected Window' options to keep your recording focused.
Running Out of Storage Space
Long recordings, especially at high resolutions, create large files. If your Mac runs out of storage during a recording, it may crash or fail to save the video. Ensure ample free space beforehand.

When to Get Professional Help

While built-in Mac tools are excellent for basic screen recording, there are times when professional help or more advanced software might be necessary. If you require advanced video editing capabilities like multi-track editing, complex transitions, color grading, or special effects, you might consider professional video editing software (e.g., Final Cut Pro, Adobe Premiere Pro). For critical business presentations or high-stakes tutorials where production quality is paramount, consulting a professional videographer or multimedia specialist can ensure polished results. They can offer expertise in scripting, lighting, sound design, and post-production, elevating your screen recordings beyond simple captures into professional-grade content that truly stands out.

Frequently Asked Questions

Was this helpful?

Verified by 18 seekers

Editorial Attribution

Ali Hassan
Ali Hassan
Verified Expert
Writer

Professional contributor.

A close-up of a MacBook Air keyboard with the Command, Shift, and 3 keys subtly illuminated, indicating a full-screen screenshot action.

To take a screenshot on your MacBook Air, press Command + Shift + 3 for a full-screen capture, Command + Shift + 4 to select a specific area, or Command + Shift + 5 to open the Screenshot toolbar for more options, including window captures. Your MacBook Air saves these images as PNG files to your desktop by default, ready for immediate use.

12 found helpful
Details
A hand points at an Outlook desktop application screen showing the email signature editor with example text and a logo placeholder.

To change your email signature in Outlook, access the Signature settings via File > Options > Mail > Signatures (desktop) or Settings > Mail > Compose and reply (web). Create a new signature or select an existing one to edit. Add your desired text, images, and links, then save your changes. Finally, assign the signature to new messages and replies.

13 found helpful
Details
A person using a Windows laptop, focused on the 'Get Help' application interface to find solutions to a computer issue.

Access help in Windows by using the built-in 'Get Help' app for guided solutions, searching the Start Menu for specific issues, or utilizing the 'Settings' app for troubleshooters. For comprehensive support, visit the official Microsoft Support website directly. These methods provide a range of resources from automated diagnostics to detailed knowledge bases, helping you resolve most common software and hardware challenges.

9 found helpful
Details