Silence Your Toilet: What You’ll Learn in This Guide
A running toilet can be incredibly annoying. It wastes water and drives up your utility bills. Often, the culprit is a faulty toilet flapper. Don’t worry, fixing it is a straightforward DIY project! In this comprehensive guide, you’ll learn exactly how to fix a toilet flapper with clear, step-by-step instructions. We’ll cover everything from turning off the water to making final adjustments. By the end, you’ll have a quiet, efficient toilet and the satisfaction of a job well done, saving both water and money.
Why This Simple Flapper Fix Works Best
Of all the potential issues that can cause a running toilet, a worn-out or ill-fitting flapper is by far the most common. It’s also the easiest and most cost-effective to repair yourself. Many people immediately think of calling a plumber, but this particular fix is well within the capabilities of a beginner. Replacing the flapper ensures a proper seal at the bottom of your toilet tank, preventing water from continuously seeping into the bowl. This method addresses the root cause directly, often resolving the problem completely without needing more complex or expensive repairs.
Tools and Requirements
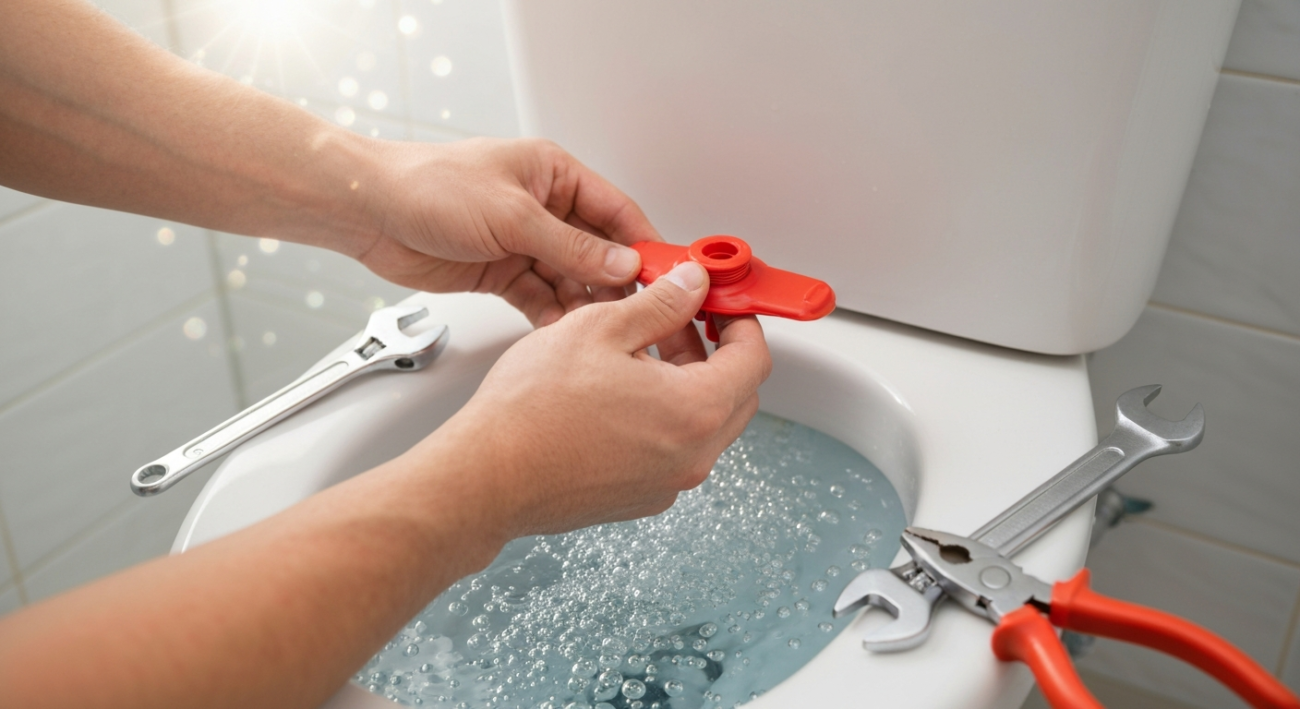
- New toilet flapper replacement kit (ensure it matches your toilet’s make and model, or bring the old one to the store)
- Bucket or old towels (for catching drips)
- Sponge (to soak up residual water in the tank)
- Pliers (optional, for stubborn chains or nuts)
- Gloves (optional, for hygiene)
Quick Steps Overview
- Turn off your toilet’s water supply and flush to empty the tank.
- Remove the old, faulty toilet flapper.
- Clean any sediment or mineral buildup from the flush valve seat.
- Install the new toilet flapper, ensuring a good fit.
- Attach and properly adjust the flapper chain to the flush lever.
- Restore the water supply and test your newly repaired toilet.
Detailed Step-by-Step Guide on How to Fix a Toilet Flapper
Step 1: Shut Off the Water and Drain the Tank
Before you start any plumbing work, safety first! Locate the water shut-off valve behind or near the base of your toilet. It’s usually a small knob or handle on the wall or floor. Turn it clockwise until the water flow stops completely. Once the water is off, flush the toilet. This will drain most of the water from the tank into the bowl. Use your sponge to soak up any remaining water at the bottom of the tank. A dry tank makes working much easier and less messy.
Step 2: Disconnect the Old Flapper
Now it’s time to remove the old flapper. First, unhook the flapper chain from the toilet’s flush lever. This lever is the arm inside the tank connected to the handle you push to flush. Next, gently unclip or slide the old flapper off its hinges or ears at the base of the overflow tube. Different flapper types attach in slightly different ways, but they are generally easy to detach. Take a moment to inspect the old flapper. You’ll likely see signs of wear, cracks, or discoloration, confirming it was the problem.
Step 3: Clean the Flush Valve Seat
This is a critical, often overlooked step when you want to learn how to fix a toilet flapper effectively. The ‘flush valve seat’ is the circular opening at the bottom of the tank where the flapper rests. Over time, mineral deposits, grime, or mold can build up here, preventing even a new flapper from forming a tight seal. Use your sponge, a soft brush, or even your finger to thoroughly clean this rim. Make sure it’s smooth and free of any debris. Avoid using harsh abrasive cleaners that could scratch the surface.
Step 4: Install the New Toilet Flapper
Take your new flapper and carefully attach it. If it has ‘ears’ or clips, slide them onto the corresponding pins at the base of the overflow tube. If it’s a ‘sleeve’ type, slide it down over the overflow tube until it rests flat on the flush valve seat. Ensure the flapper is centered and sits evenly. It should lie flat and create a perfect seal without any gaps. Make sure no part of the flapper is obstructed by other tank components.
Step 5: Attach and Adjust the Chain
Hook the new flapper chain to the hole in the flush lever. The trick here is proper tension. You want the chain to have just a small amount of slack when the flapper is closed – about a half-inch to an inch. If the chain is too tight, the flapper won’t fully close, causing a leak. If it’s too loose, the flapper might not lift high enough to allow a full flush. Adjust the chain length by moving the clip to a different link until you find the perfect balance. This adjustment is key to stopping a running toilet.
Step 6: Restore Water Supply and Test
With the new flapper securely in place and the chain adjusted, it’s time to turn the water back on. Locate the shut-off valve again and turn it counter-clockwise until the water flow is fully restored. Let the toilet tank refill completely. Once it’s full, flush the toilet several times. Listen carefully: does the toilet still run after the flush cycle? Does the flapper drop back down and seal properly each time? If you notice your toilet is still running after trying to fix the flapper, you might need to investigate other common issues that cause a running toilet. Otherwise, you’ve likely succeeded in fixing your toilet flapper!
Troubleshooting Common Issues
Toilet still runs after replacing the flapper.
First, double-check the flapper chain. Is it too tight, preventing the flapper from fully seating? Adjust for a small amount of slack. Next, inspect the flush valve seat again. Even a tiny piece of debris or a rough spot can cause a leak. You might also have the wrong type of flapper for your toilet model, which won’t create an effective seal.
Flapper doesn’t fully open or close.
This is almost always a chain length issue. If it doesn’t open fully, the chain is too short. If it doesn’t close fully, it might be too long and getting caught under the flapper, or too tight, holding it slightly open. Adjust the chain’s connection point until you find the optimal length.
Common Mistakes to Avoid
- Buying the wrong flapper type: Toilets come in various designs. Always try to match your old flapper’s style and size, or consult your toilet’s manual. A universal flapper might not always be the best fit.
- Not cleaning the flush valve seat: This is crucial. Even a tiny bit of grime can break the seal of a brand-new flapper, causing a phantom flush or a constant trickle.
- Improper chain tension: Too much slack means the flapper won’t open enough; too little means it won’t seal properly. Aim for about 1/2 to 1 inch of slack.
- Forgetting to turn off the water: Always, always turn off the water supply before you start working inside the tank. This prevents accidental flooding and makes the job much cleaner.
Expert Pro-Tips
- Perform a dye test: To confirm a leak, put a few drops of food coloring or a dye tablet into the toilet tank (away from the flapper). Wait 15-30 minutes without flushing. If color appears in the toilet bowl, you have a leak.
- Consider the age of your toilet: If your toilet is very old, other internal components like the fill valve or overflow tube might also be nearing the end of their lifespan. A flapper replacement is a good first step, but be prepared for other potential repairs down the line.
- Take a picture: Before you start disassembling anything, snap a quick photo of how the old flapper and chain are connected. This provides a handy reference when installing the new one.
Enjoy Your Quiet, Efficient Toilet!
Congratulations! You’ve successfully learned how to fix a toilet flapper. Your toilet should now be operating silently and efficiently. No more irritating running noises or wasted water. You’ve not only saved money on potential plumbing bills but also contributed to water conservation. Enjoy the peace and quiet of a properly functioning toilet, knowing you tackled the repair yourself!
Your Toilet, Fixed and Ready
Fixing a toilet flapper is one of the most common and rewarding DIY plumbing tasks you can undertake. It directly addresses the leading cause of a running toilet, saving you money on water bills and preventing unnecessary noise. By following these simple, detailed steps, you can confidently replace your old flapper with a new one, ensuring a tight seal and efficient operation. Remember to turn off the water, clean the flush valve seat, and adjust the chain correctly for the best results. A quiet toilet and a lower water bill are well within your reach!